With the presence of sturdy wood yet more straightforward to introduce, engineered wood has turned into a popular decision for some homes. Giving the equivalent compelling feel and an unquestionable familiar look, engineered wood is an incredible decision all through most zones of the house.
Since it’s made in layers, designed wood flooring has great solidness, and this implies it’s not as inclined to contracting or twisting with changes in ecological conditions as much as sturdy wood seems to be. This solidness makes it is conceivable to utilise click frameworks at the joints so it’s optimal for anyone searching for a genuine wood floor they can introduce themselves. Giving you pursue our How to Install Engineered Wood Flooring guide, it indeed is easy to fit. Also, people often ask about laminate flooring vs engineered wood flooring too. Know about it below too. In any case, click framework floors are just indeed intended to ‘drift’ over a current subfloor. If you are hoping to introduce your floor legitimately onto joists, at that point a portion of our Galleria Professional designed wood floors accompany a common tongue and depression joint for this very reason. Designed wood deck to be introduced along these lines should likewise be at any rate 18mm thick to adapt to the additional pressure.
Engineered wood contains a cut of normal wood on top while cover utilizes a photographic layer that is covered with a defensive layer. An overlay is additionally a lot more slender than designed wood, averaging around 12mm, while built wood will, in general, be thicker like hardwoods.
Laminate flooring is basically an inflexible engineered floor that is otherwise called composite, Pergo, or drifting wood tile. It’s made of a few layers of compacted materials.
What about its strength and upkeep cost?
Designed floors don’t swell or twist because of climatic conditions.
The expense of support is low.
Built wood floors can be introduced anyplace. Regardless of whether it is over the ground level, beneath the ground level or even at ground level.
Designed floors can be introduced on any subfloor like earthenware tiles or vinyl floors.
They ought to be firmly verified to the floor underneath them and it ought to be spotless and dry.
There are three different ways to introduce designed wood floors. They can be stuck, nailed or stapled down to the subfloor.
Designed wood flooring is more affordable when contrasted with other ground surface sorts.
Designed hardwood floors are a lot simpler to introduce and a few property holders who have the intrigue DIY their floors.
At least support is required for built wood floors to keep spotless; a great many people lean toward it to be their decision in kitchens also.
Built wood doesn’t effectively get influenced by climate conditions. You don’t see your floors leave shape as they don’t contract or swell contingent upon muggy conditions. Also, ensure that you know about the engineered wood flooring manufacturers it ensure that you are buying the right kind.
Engineered wooden thoughts- What goes best?
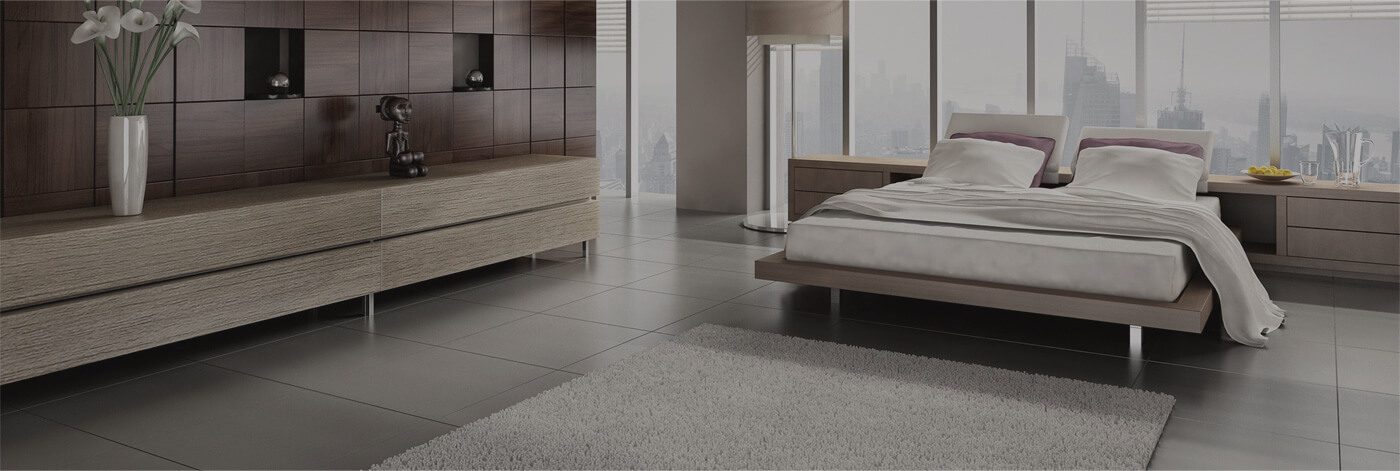
Wood comes up short on the delicate quality of floor covering yet isn’t so tricky as tile underneath. Rehashed strides through the span of a day can cause distress, so limit the impact and an opposite effect on the body with zone mats that include comfort. Layering territory carpets over wood floors characterize living rooms in open spaces and grapple couches and complement seats into a big gathering.
Style Choices
Wood flooring is a characteristic matching in customary insides, yet an appreciated juxtaposition against smooth present-day components. Further the show with contemporary bureau decisions, streamlined equipment, and lighting in a space that needs ruffle and grasps clean lines.
Blend Don’t Match
Disregard any idea that requires wood tones to coordinate. A cutting edge way to deal with configuration intentionally mixes the unpleasant and rural with the recoloured and cleaned in shifted stains and grains for a gathered after some time look. A brace stump end table is impeccably at home against crude wood accents or dark wash wood floors.
Wooden floor-Colour and texture assortment
White – the shading can be faded out of the wood by degrees, so you hold the character of the wood however adjust the shade from normal to virtual white.
Dim – Turning hardwood from its normal shading to a dark or close dark is accomplished with a polish or conventional oil. Oak reacts best to the treatment as they are generally unbiased in shading regardless yet oak delivers a fascinating and alluring shade.
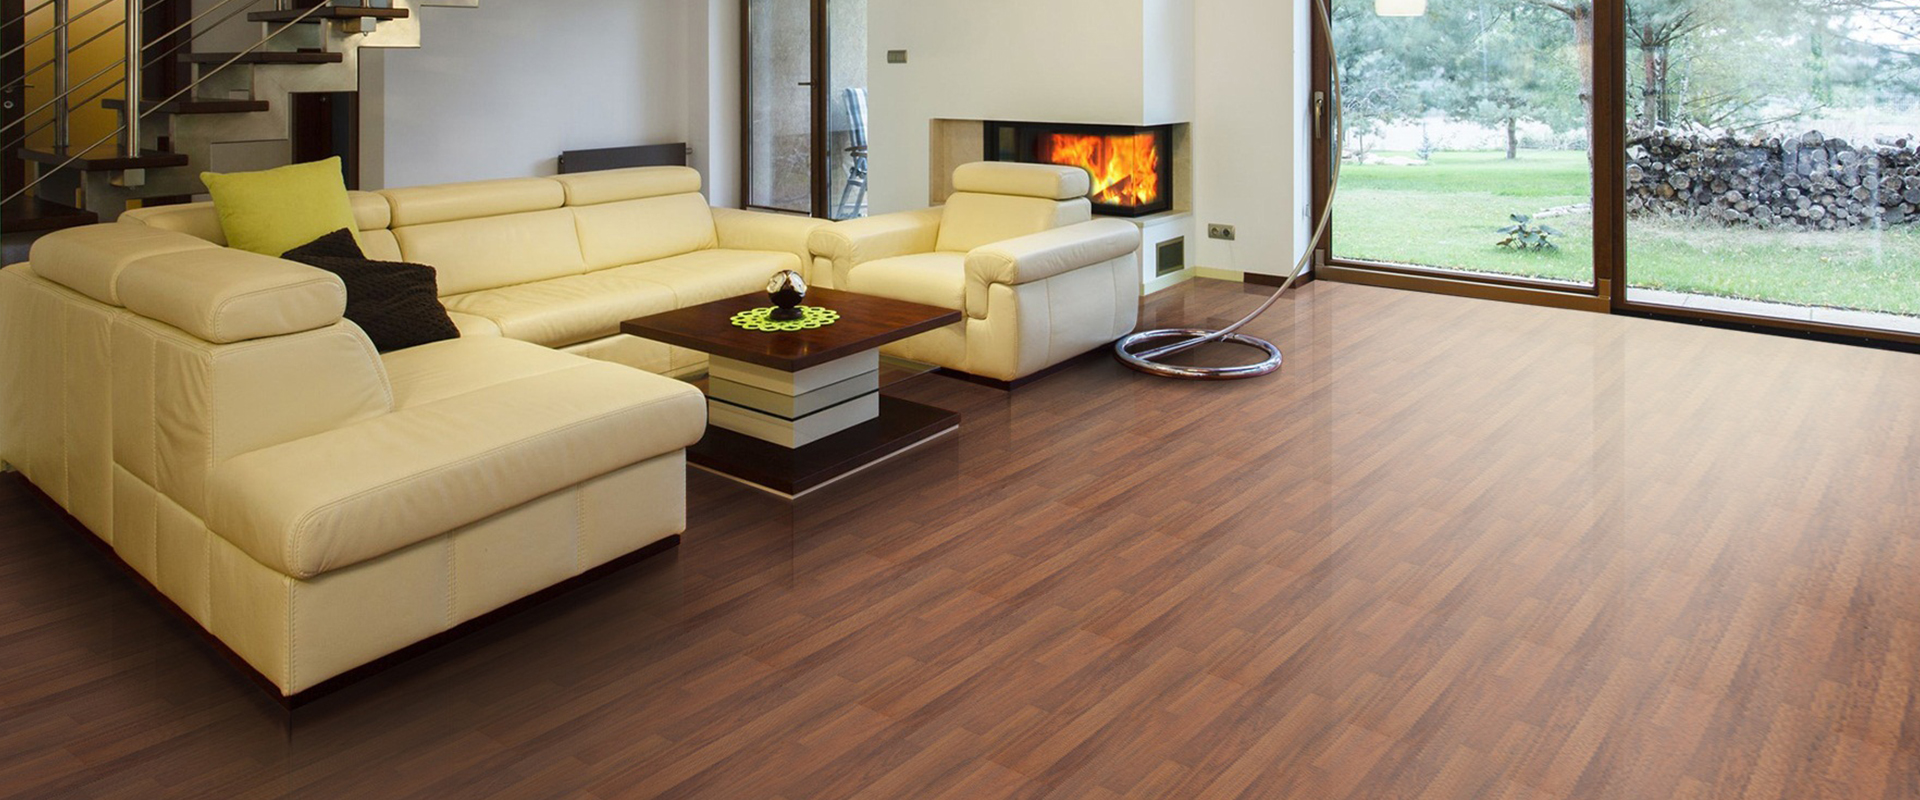
Red – Engineered wood floor common shading is a great darker/red and in this manner needs no extraordinary treatment to upgrade the shading further. The timber is accessible decently promptly.
Light creates flawless nectar shaded hardwood and is delivered by a blend of mellow blanching and recoloring with polish and oil. This procedure needs to occur before the wood is fitted.
Hued sheets or squares empower great examples to be collected. The shading is controlled by oils that splash into the wood grain.
Dull colouration is generally accomplished by finishes, oils and waxes previously or after fitting. Raged medicines come as provided.
Dark and shades of dark depend on a seething. This procedure includes a raging stove where warmth or smelling salts are acquainted with the wood after the boiler is fixed. The power of dark is dictated by the span of the procedure – from a couple of hours to a couple of days.
Wood flooring-What is the procedure and the last outcomes?
Stage 1
For your first column, you’ll need the straightest boards, masterminded with the tongue side confronting the focal point of the room. Spot spacers inside the extension hole – the space between the divider and floor that takes into consideration wood development from warmth and dampness. Pre-drill nail gaps 1/4 inch from the right side of the board at 1/2 inch from the divider. Proceed at 6-inch interims for the length of each board.
Stage 2
Since the pneumatic nailer is challenging to move close to the divider, face-nail the first couple of sheets set up. Countersink the nails with a nail punch and fill the rest of the opening with coordinating putty. At that point, dazzle nail at a 45-degree edge through the tongue. Try to countersink the nail, so it doesn’t meddle with the board-to-board association.
Stage 3
On the second line, lock the tongue and section and tap them together with a hammer and square for a tight fit between the sheets. Amaze the closures six crawls between connecting sheets, cutting the end board if necessary, to make a more grounded, increasingly appealing deck design.
Stage 4
Daze nail the second column through the tongue and rehash the procedure until you’re ready to utilise the ground surface nailer. The ground surface nailer expects space to work, so it regularly can’t be used until two to four lines into the floor. When utilising a deck nailer, make sure to introduce the nailer’s protective boot to ensure the ground surface.
Stage 5
When you get to the last lines, change back to nailing by hand. On the previous column, slice the pieces to fit, estimating the separation from the divider to the board – not the tongue – and short the extension hole.
On the off chance that the last piece is 1 inch wide or less, apply a little measure of wood paste to the tongue and section and supplement the part with a pry bar and bit of scrap wood to secure the divider. Something else, face-nail the last part, countersink and fill the opening with coordinating putty.
Stage 6
Introduce the progress pieces as per the producer’s directions and evacuate spacers. Cut the underlayment and re-connect baseboards and shoe mouldings to the divider, not the floor.