
The prefinished plank Laminate Flooring is always considered to be the most preferred choice for flooring. It is easy to install and offers the same appearance of hardwood flooring. The planks are designed with medium density fibreboard that is sandwiched between the plastic laminate. The top surface of the plank looks similar to random grain wood and the plastic lamination makes it stain and scratch-resistant. The entire floating floor assembly is glued in combination at its edges and floats on thick closed-cell polyethylene foam pad. This makes precise installation a snap which can be done in one weekend. Below is helpful DIY Flooring Tips that explain the steps to install laminated floors at your home.
Acclimate the Flooring
The Laminate wood flooring usually sits in the rooms for at least 48 hours before its installation. So, it is necessary that you give it time to expand and contract in relation to the temperature and humidity of the room. This would prevent issues like buckling after installation. This is the pro tip for Installing Laminate Flooring for Beginners.
Removing Baseboard
The second step is to remove the existing baseboard mold and for this you would require using the pry bar to remove baseboard from the wall. Set the pieces aside for further reinstallation.
Installing the Underlayment
Clear the floor of nails, staples and other debris and install the underlayment to the laminate floor. Roll out the underlayment and don’t overlap the adjoining strips. You may use knife to cut pieces as needed. This underlayment would deaden the sound and also makes the floor feel more durable and resilient.
Planning Layout
You need to decide which direction the planks would lie and for this consider the walls that is straightest and longest in the room. You must allow narrow strip against the focal point wall and ensure to keep gap of 2” wide in the last row.
Cutting First Row
Based on the size of the layout, you need to cut the first row of the planks according to length. You need to use the clamps to steady the planks when cutting it.
Leaving a Gap
Some of the Laminate Wood Flooring kits come with the space chips and you have to wedge them between planks and walls and leave the gap of 1/4 inches. This won’t be visible when the baseboard would be installed.
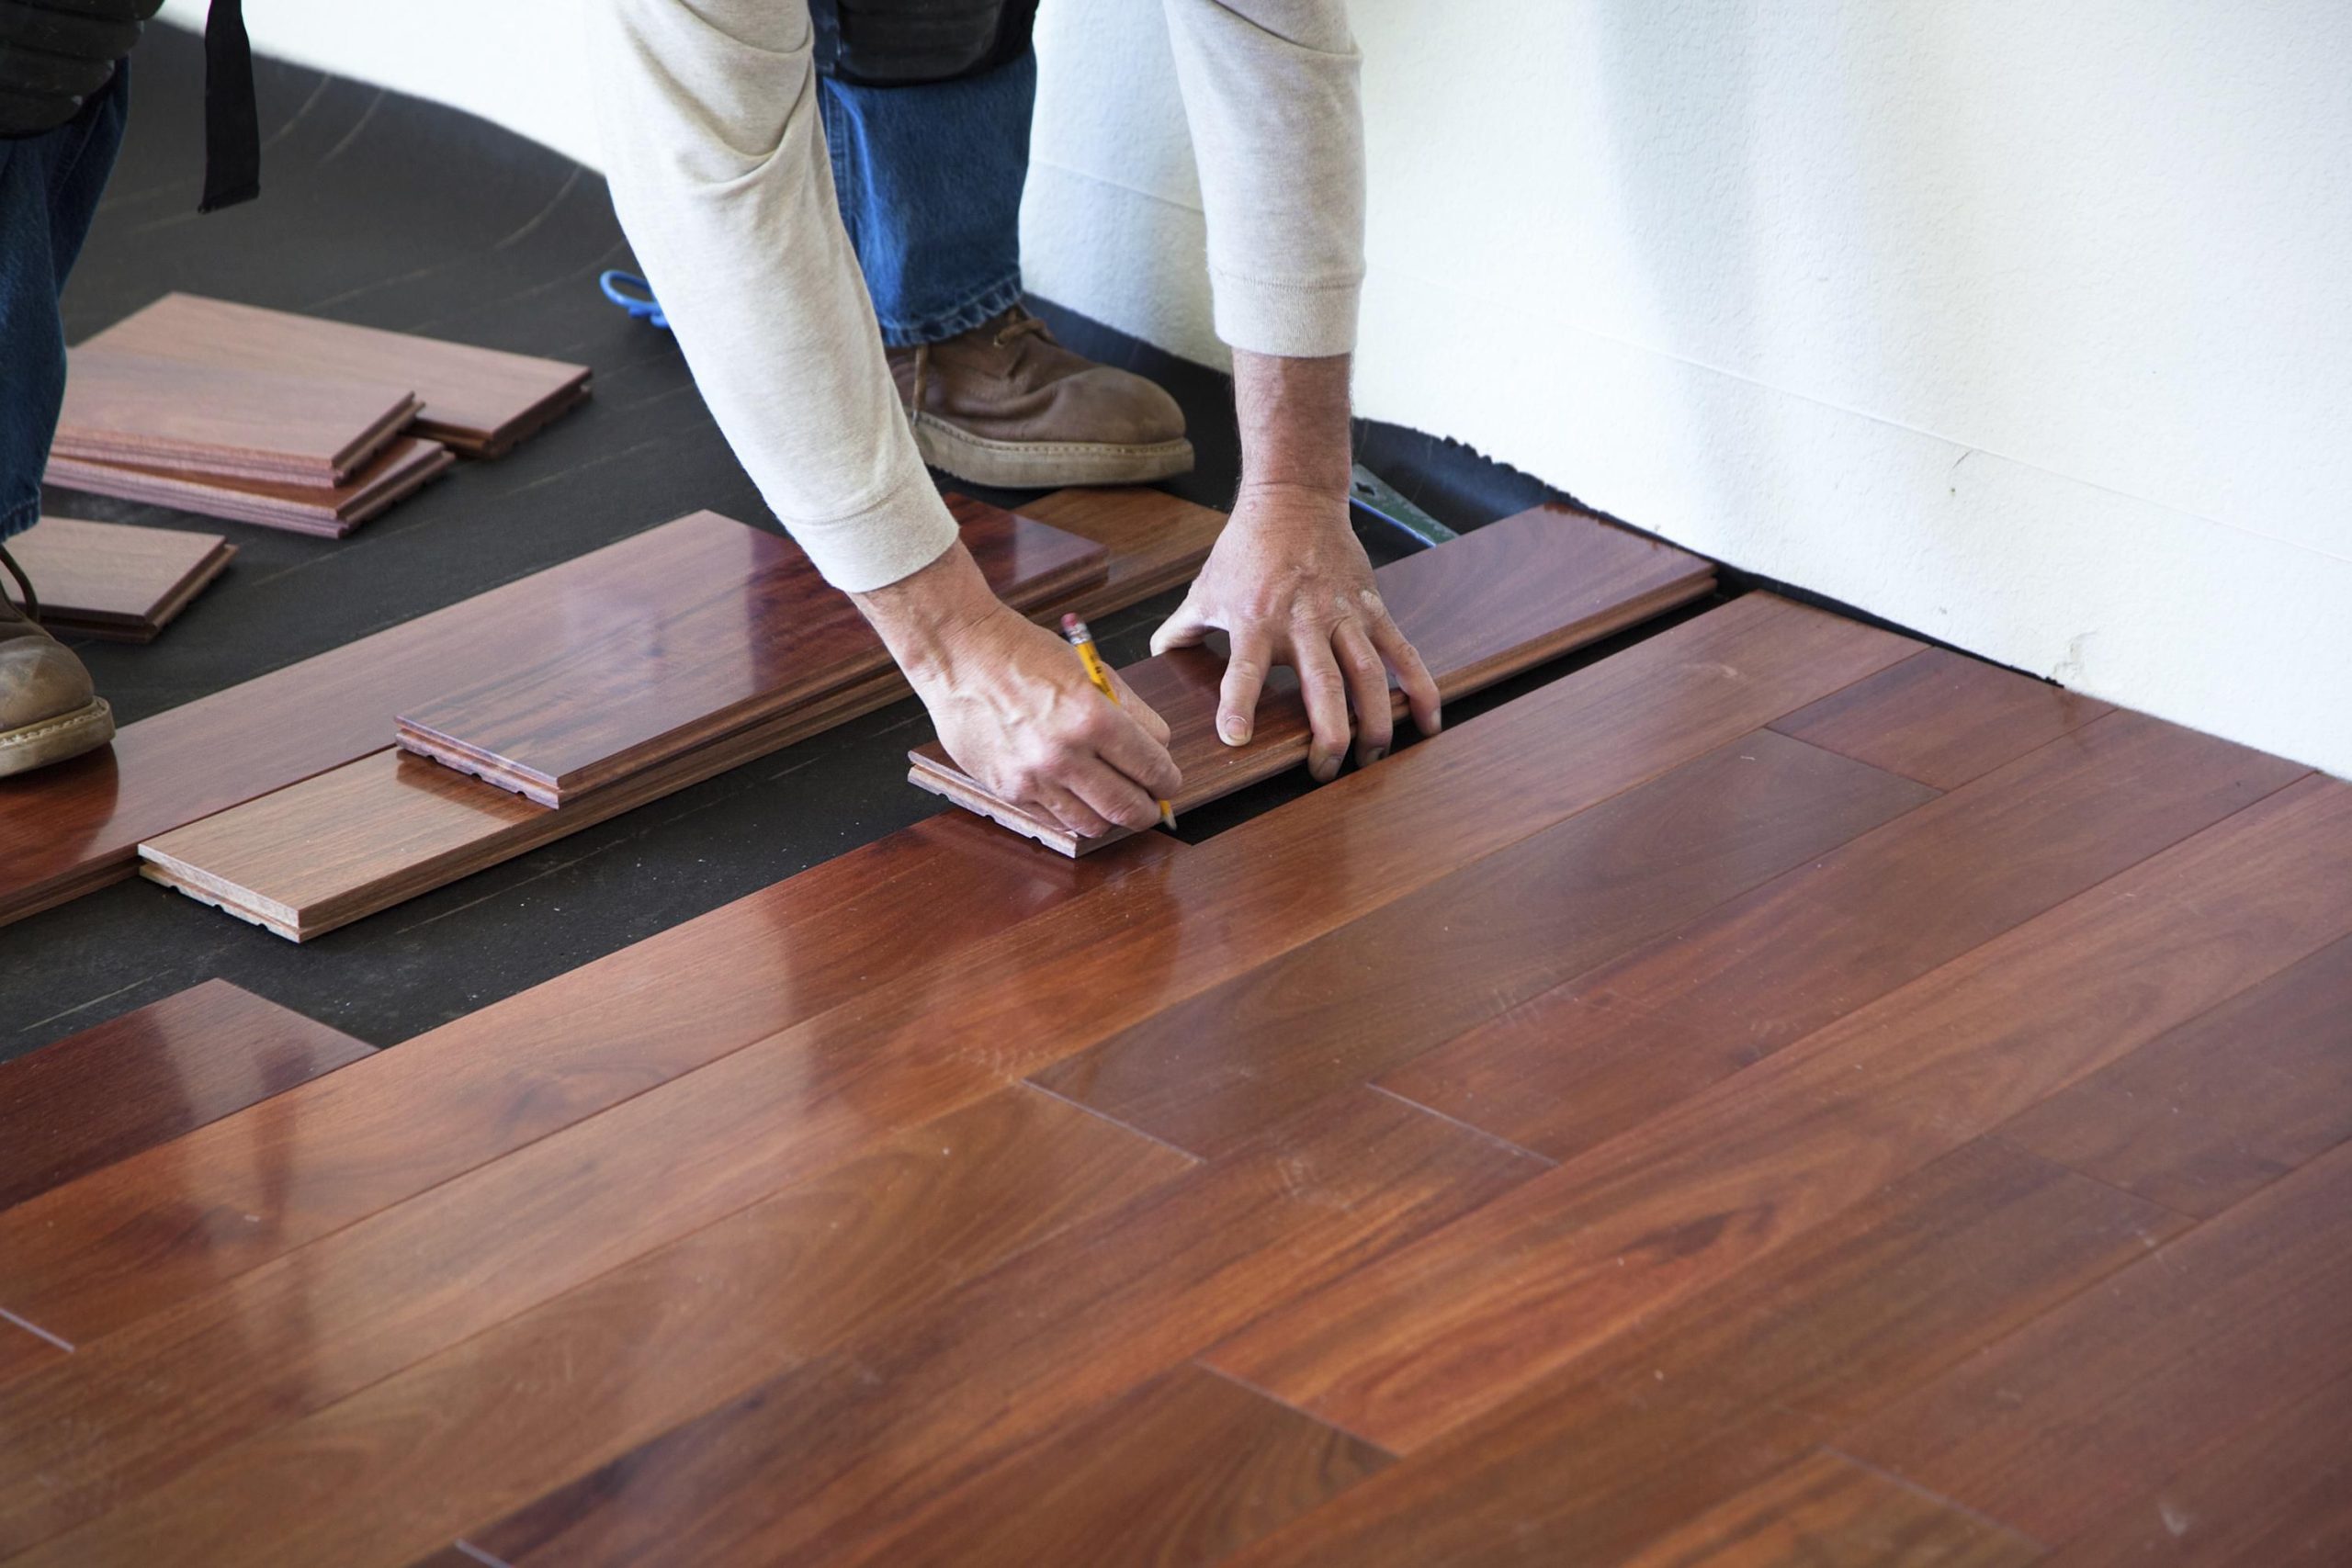
Installing the First Row
Now you have to install the planks with the tongue side facing the walls. In some kits, you have to cut off the tongue edges of planks that face the walls. So do it accordingly and connect one plank to another by linking the grooves and tongues.
Installing Other Rows
After completing with the first row, you have to start with other rows and as you snap on the new rows ensure to stagger the seams at least 12” in adjoining rows much like you see on a brick wall and wood plank wall. You can also start with a new row with a scarp from the planks that you get after cutting the last row. At the final row, you have to slide the planks into position at the desired angle and ensure to pry them gently into places using the pry bar. But you need to ensure that you are leaving a gap between the wall and last row.
Cutting Around the Casings
Now you need to cut the door casings and avoid cutting the planks to fit it around the door. You must use the jamb saw to cut door casings about 1/6” above the height of your floor and this would give room to the plank to slide easily beneath the casing.
Reinstalling the Trim
After installing the planks, it is the time to reinstall the baseboard mold using few nails and hammer. Install the shoe mold above the expansion joints and use the transition strips to link the laminate to the adjacent surfaces. Don’t nail through the floor, simply nail through the wall and trim.
So, these were the helpful guide on Installing Laminate Flooring for Beginners. You can follow this DIY guide to complete the installation of the laminated floor in 6 hours’ time and the best part is that you can walk up on in the same day.